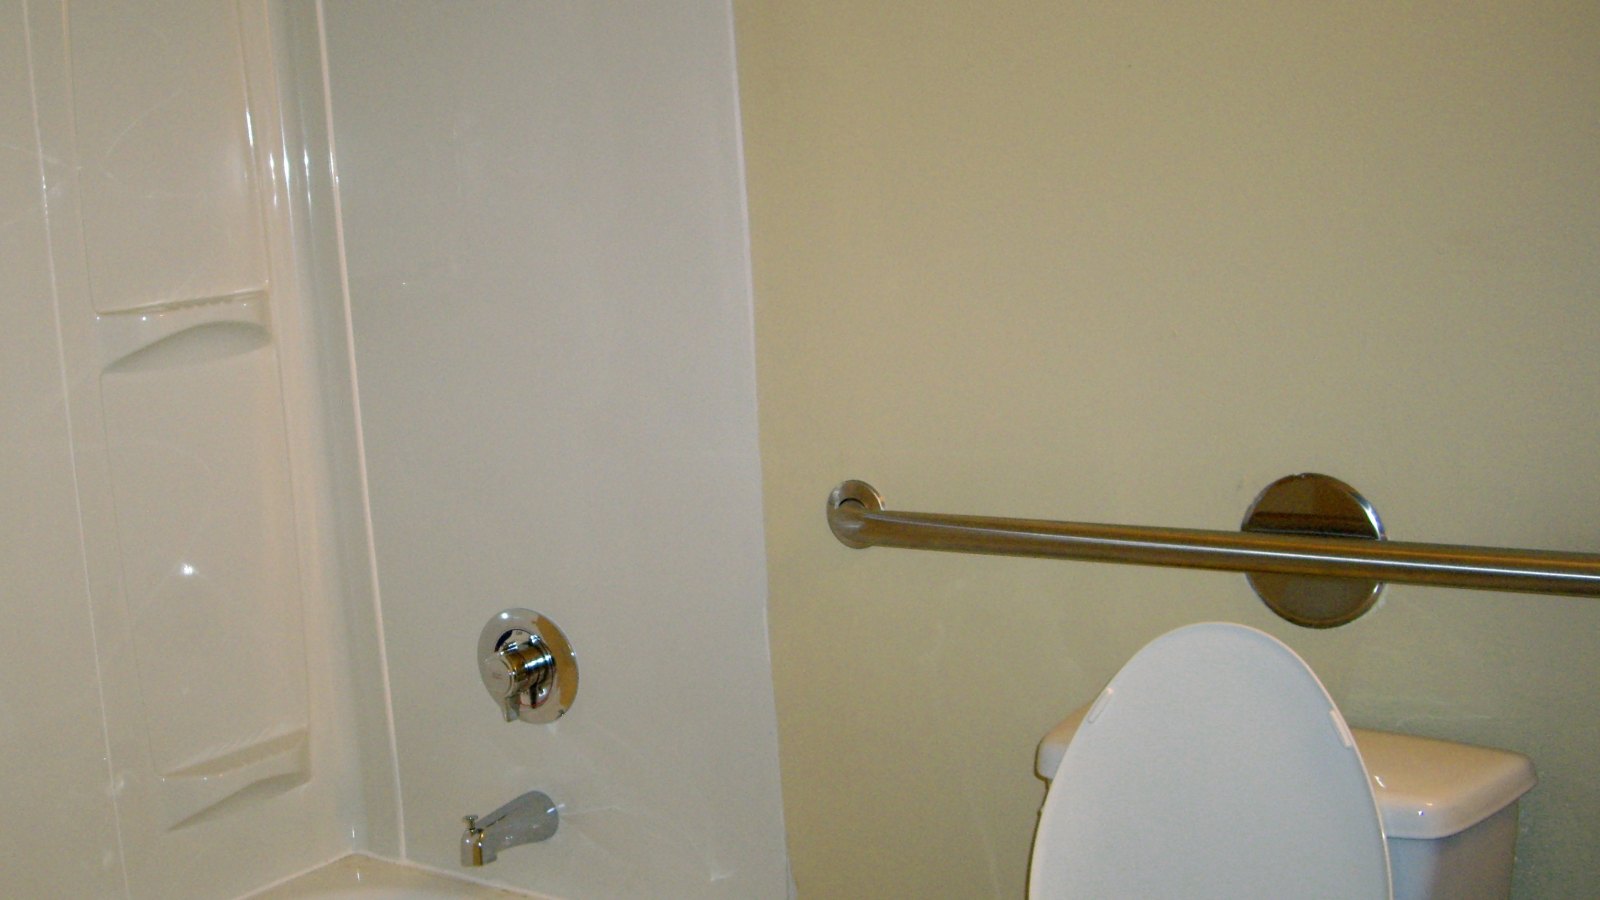
The short version: A grab bar at the usual 33 to 36 inches sits well above a bidet seat. The squeeze is at seat level: with the toilet centerline 17 inches from the wall, a 15 inch remote seat leaves about 9.5 inches between its edge and the wall, and an 18.7 inch side-panel seat about 7.6. Route the cord and hose to the open side, mount the remote ahead of the seat and below the bar, and check any safety frame against the seat’s width.
Grab bars and bidet seats are often bought months apart, and nobody checks how they share the narrow strip between the toilet and the wall. That strip has to hold a hand pushing down on the bar, a hip sliding across the seat, a power cord, a water hose and sometimes a remote.
This guide works through each piece using the U.S. Access Board’s guide to the ADA Standards, manufacturer manuals and spec sheets from TOTO, Brondell, Alpha Bidet, Kohler, Moen, Bobrick and Drive Medical, and owner experiences.
Our guide to bidets for limited mobility covers this topic in one paragraph alongside remotes, presets and heating. This page goes into the layout itself. It describes products and room logistics only; how a particular person should transfer, and where their bar belongs, is a question for an occupational therapist.
On this page
- ADA Reference Dimensions and Why Homes Can Differ
- How Seat Width Narrows Hand Space
- A Plan View of a Workable Layout
- Routing the Cord, Hose and Outlet
- Where to Mount the Remote
- Toilet Safety Frames and Rails
- Swing-Away Bars for an Open Side
- Mounting Bars into Studs or Blocking
- When to Bring in a Professional
ADA Reference Dimensions and Why Homes Can Differ
The ADA Standards set the layout for accessible toilets in public and commercial buildings. The Department of Justice’s Title III manual states that the law does not apply to strictly residential facilities, so a private home bathroom does not have to follow any of these numbers. They are still the most widely used reference for where a toilet and its bars go, and many contractors work from them by default.
Treat them as a starting point, not a prescription. A person who is shorter, taller, transfers from a wheelchair or stands up using one arm may be better served by a bar at a different height or angle. The table collects the figures that matter when a bidet seat is involved.
| Element | ADA reference (public facilities) | What it means with a bidet seat |
|---|---|---|
| Toilet centerline to side wall | 16 to 18 inches | Sets how much room is left beside the seat edge |
| Clear floor space at the toilet | 60 inches wide by 56 inches deep minimum | Room to approach and turn; cords and hoses should stay out of it |
| Seat height | 17 to 19 inches to the top of the seat | A bidet seat changes this little; see our seat height guide |
| Side wall bar | 42 inches long minimum, starting 12 inches maximum from the rear wall and extending 54 inches minimum from it | The bar runs past the front of the seat, where the remote holder often goes |
| Rear wall bar | 36 inches long minimum, extending 12 inches on one side of the centerline and 24 inches on the other | Sits above the tank, clear of the seat’s rear housing |
| Bar height | 33 to 36 inches above the floor to the top of the gripping surface | Well above the seat ring and any side panel |
| Space between bar and wall | 1.5 inches exactly | Not a place to tuck a cord or remote |
| Bar diameter (round) | 1.25 to 2 inches | Adds to how far the bar projects from the wall |
| Clearance around the bar | 12 inches minimum above; 1.5 inches minimum below and at the ends | Keep a remote holder at least this far from the bar |
| Bar strength | Withstands 250 pounds applied at any point | Depends on the wall behind it as much as the bar |
| Toilet paper dispenser | 7 to 9 inches in front of the toilet; outlet 15 to 48 inches high; not behind grab bars | A useful model for placing a remote holder |
How Seat Width Narrows Hand Space
Because a grab bar sits about 14 inches or more above the seat, the bar itself is rarely in the way. What changes is the gap at seat level between the seat’s edge and the wall. People lower themselves with one hand on the bar and often steady the other hand, or a hip, in that gap. A caregiver may also need to reach into it.
Most remote-controlled bidet seats are about 15 inches wide. Alpha lists 15 inches for its JX seat, and the Brondell Swash 1400 and Coway Bidetmega 400S measure about 15.2 and 15.3 inches. Seats with an attached side control panel are wider because the panel sticks out on one side: Alpha lists 18.7 inches for its GX Wave, and Bemis lists 18.11 inches for the elongated Living BB-1200.
Assuming the seat is centered on the bowl and the centerline is 17 inches from the wall, a 15 inch seat leaves about 9.5 inches to the wall and an 18.7 inch seat about 7.6 inches.
At the 16 inch end of the ADA range, those gaps shrink to about 8.5 and 6.6 inches. If the side panel faces the grab bar wall, the hand that steadies the body also lands near the buttons, which can start or stop a wash by accident. A seat with a wall-mounted remote avoids both problems.
A Plan View of a Workable Layout
The drawing shows a toilet against a side wall with ADA-style bars, seen from above and drawn to scale. Numbered circles match the key on the right. The water valve is shown on the wall side, which is one common arrangement; yours may be on the other side.
Routing the Cord, Hose and Outlet
An electric bidet seat has two connections at the back: a water hose from a T-valve at the toilet’s supply line, and a power cord to a grounded GFCI outlet. Cords are short. The TOTO Washlet C5 cord is about 4 feet and exits the left side of the seat, the Brondell Swash 1400 cord is 3.5 feet, and Alpha lists 4 feet for its seats.
Where the cord leaves the seat and where the outlet sits together decide which side of the toilet the cord crosses.
The goal is to keep both lines out of the strip beside the grab bar and out of the floor space where feet pivot during a transfer. If the cord exits toward the bar wall and the outlet is on the open side, the cord has to cross behind the toilet, which is fine as long as it runs tight to the wall and tank.
A cord draped down the bar side, or looped where a walker or foot lands, is a snag and trip risk. Kohler’s instructions route the hose and cord through a hole in the toilet rim where one exists, or through the side of the seat where it does not.
Before buying, look at the dimension drawing in the seat’s manual to see where the cord and water inlet leave the seat, then compare that with where your supply valve and outlet are.
If no outlet is within cord reach on the open side, an electrician can add one; our outlet requirements guide covers GFCI protection, placement and why extension cords are a poor fix. The supply hose usually has some slack, so coil it neatly behind the toilet rather than letting it hang toward the bar.
Where to Mount the Remote
Manufacturers leave remote placement to you. Brondell’s installation guide asks only for a spot that is visible and reachable from the toilet, using screws and anchors or the supplied adhesive tape. Kohler has you mark the docking station’s holes and drill smaller pilot holes for a stud or wood surface and larger ones for wall anchors.
With a grab bar on the same wall, the ADA rule for toilet paper dispensers is a sensible model: 7 to 9 inches in front of the toilet, never behind the grab bar.
In practice that puts the holder on the side wall, just ahead of the seat’s front edge and below the bar, with at least 1.5 inches between the top of the holder and the underside of the bar so a hand can wrap the bar fully.
Mounting the holder above the bar means leaving 12 inches of clear space over the bar, which pushes it to about 45 inches or higher, a long reach for a seated person. Behind the hip line is the worst spot because it forces a twist.
Sit on the toilet, rest a forearm on the thigh, and see where the hand falls before drilling. Some remotes are infrared and need a line of sight to the seat, so test the remote from the chosen spot first. The holder should also be firm enough that someone grabbing for balance does not pull it off the wall. Use screws rather than tape if there is any chance of that.
Toilet Safety Frames and Rails
Where wall bars are not possible, many households use a toilet safety frame: a pair of armrests around the toilet. Some attach to the toilet itself. The DN7015 rail from CSI Bath Furnishings, for example, sits directly on the bowl under the seat and is held by the existing seat bolts. Drive Medical’s frames attach with an aluminum bracket at the toilet. Freestanding frames simply stand around it on their own legs.
Each type raises a different question with a bidet seat. A rail held by the seat bolts competes with the bidet seat’s mounting plate, which uses the same bolts, and it can change how the plate sits. Australia’s Department of Veterans’ Affairs guidance for occupational therapists notes that some bidet seat models are not suited to rails fitted onto the toilet pedestal. Ask both manufacturers whether the combination is approved before you install it.
Width is the second check. Drive Medical lists 19 inches as the narrowest setting between the arms of its padded-arm safety frame, and about 18 to 18.5 inches at the narrowest for its standard frame (its own listing gives both figures).
A 15 inch remote seat fits easily. An 18.7 inch side-panel seat leaves almost nothing, and the arm can sit right over the panel’s buttons. Freestanding frames avoid the bolt question, but a medical supplier’s guidance warns that sideways force can make them slide or tip, so they suit straight-down pushes only.
One habit matters with any setup. The same veterans’ guidance notes that bidet seats are easily damaged when users make side transfers using the seat for stability. Push on the bar or frame arm, not the edge of the seat or its side panel.
Swing-Away Bars for an Open Side
Many home toilets have no side wall within reach, or the person needs support on both sides. A swing-up bar mounts to the rear wall beside the toilet and folds up out of the way for approach, then down to horizontal for support.
Bobrick’s B-4998, a commercial example, shows the bar 15.75 inches from the toilet centerline, uses a counterweight to stay upright, and is rated to support loads over 500 pounds when properly installed. Bobrick notes the bar is only as strong as its anchors and wall.
A swing-up bar sits close to the seat, so check two things. With the bar lowered, make sure a side panel or the seat’s rear housing does not interfere with the bar’s path. With it raised, make sure it does not block the outlet or the cord. A remote-controlled seat keeps the open side free for the bar, and the remote can sit on the bar’s mounting wall or a nearby vanity.
Mounting Bars into Studs or Blocking
A grab bar is only as good as what holds it. Moen’s instructions require both ends of the bar to be over a wood stud unless you use its SecureMount anchors, and note that studs are typically about 16 inches apart.
Because stud spacing rarely lines up with the ideal bar position beside a toilet, remodelers often add blocking: horizontal wood between studs that gives the screws something solid anywhere along the wall. The Access Board’s guide notes that bars can be added after construction if the walls are reinforced, which is the idea behind blocking.
If walls are open during a remodel, add blocking around the toilet even if no bar is planned yet; our aging-in-place bathroom guide covers planning it alongside the bidet outlet. Install the bars before the bidet seat goes on, so you can drill without the seat, cord and hose in the way. The seat itself takes a short time to fit afterward, as our bidet seat installation guide shows.
When to Bring in a Professional
An occupational therapist is the right person when someone is recovering from surgery, has had a fall, uses a wheelchair or walker, or relies on a caregiver for toileting. An OT can watch the actual transfer, recommend bar heights and positions for that person, and advise whether a frame, raised seat or bar suits them. Ask them to look at the bidet seat’s controls at the same visit, since a remote that cannot be reached safely defeats the purpose.
For the construction side, look for a Certified Aging-in-Place Specialist. The designation comes from a training program run through the National Association of Home Builders and is held by remodelers, builders, contractors and some occupational therapists. A CAPS contractor can add blocking, move an outlet and install bars as one job. If you are helping a parent, our caregiver guide covers the daily routine once the hardware is in.
Before buying a seat for a bathroom with bars, measure the distance from the toilet centerline to the side wall, note which side the outlet and water valve are on, and compare the seat’s width with any frame you use. Our toilet compatibility guide covers the rest of the fit check.
Image credit, cropped: photo by Gramody, Wikimedia Commons, CC BY-SA 2.0.